Artful Chocolate Molds & Moulds for Masterpieces
Indulge your creativity and elevate your chocolate crafting with our exquisite Chocolate Molds & Moulds collection. Whether you're a professional chocolatier or a home-based chocolate enthusiast, our collection is a treasure trove of tools and molds designed to transform your sweet visions into delectable reality.
**Why Choose Our Chocolate Molds & Moulds Collection?**
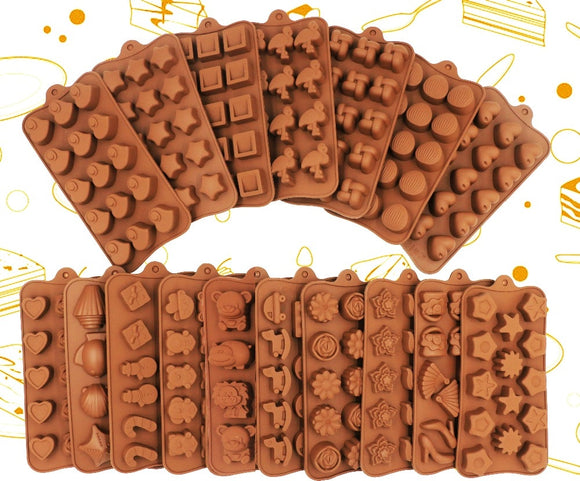
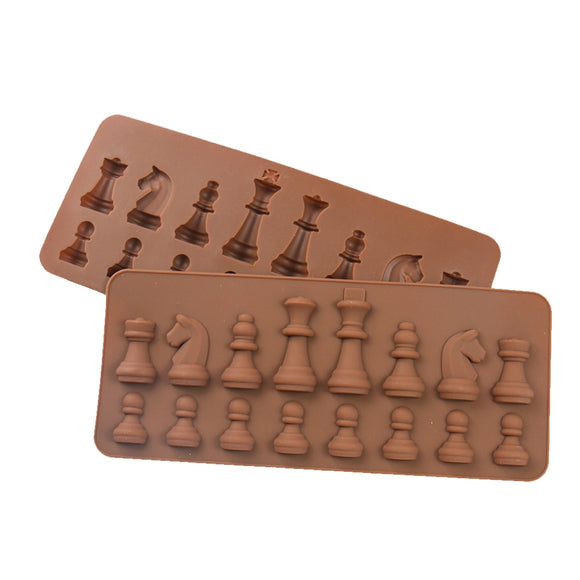
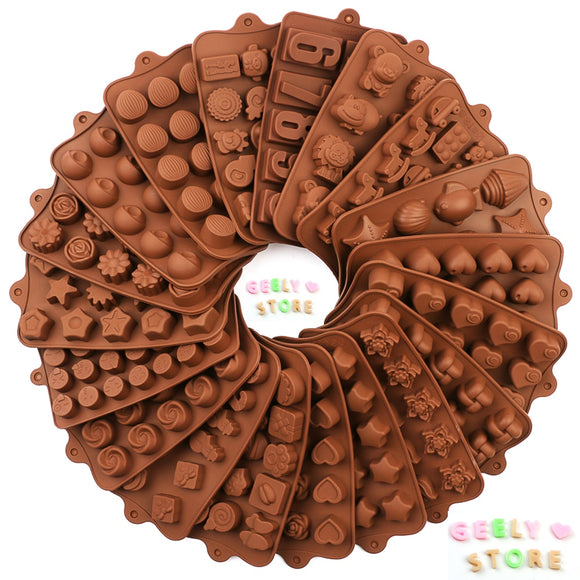
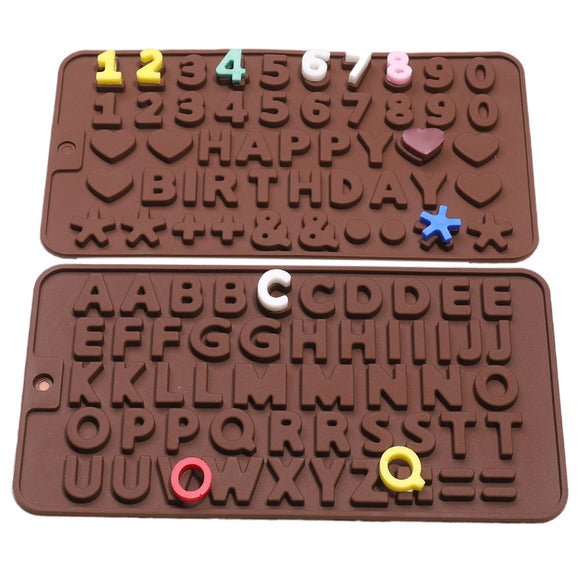
1. **Diverse Selection:** Our collection offers an array of chocolate molds and moulds, each uniquely crafted to suit various chocolate-making needs. From classic shapes to intricate designs, there's a mold for every chocolate masterpiece.
2. **Quality Materials:** Crafted with precision, our molds are made from high-quality materials, ensuring durability and easy release of your chocolate creations. These molds are designed to stand the test of time.
3. **Precision in Detail:** Achieve the finest details and flawless finishes with our molds. Your chocolate creations will be nothing short of perfection, no matter your skill level.
4. **Artistry Unleashed:** Making chocolates is an art, and our collection empowers you to explore your creativity. Experiment with different flavors, fillings, and decorations to craft chocolates that are as beautiful as they are delicious.
5. **Perfect for All:** Whether you're a seasoned chocolatier or a beginner in the chocolate-making world, our collection welcomes you. Making chocolates has never been so accessible and enjoyable.
**Embrace the Art of Chocolate Making**
Chocolate is more than just a treat; it's an experience. With our Chocolate Molds & Moulds collection, you can explore the delightful world of chocolate crafting without any limitations. Say goodbye to mediocre chocolates and hello to artful creations.
Elevate your chocolate-making game with our collection, find the ideal molds for your chocolate visions, and start molding your dreams into delicious reality. Whether you're making chocolates for personal enjoyment, gifting, or even business, our chocolate molds and moulds are here to make your journey a delightful one.